How to Make Photos in RMNP
Share
Ansel Adams, America’s most famous photographer said, “You don’t take a photograph, you make it.” Making photos is one of the most delightful parts of hiking Rocky Mountain National Park. We live in an age where nearly everyone now carries a camera in their pocket. Whether you have a DSLR or an iPhone, a few tricks of the trade can help you create outstanding photos to commemorate your hiking adventures. These are my favorite five tips for creating powerful scenic images and capturing the grandeur of the Rocky Mountains. With each tip, there is a photograph to demonstrate how that photography rule looks in real life.
RULE OF THIRDS
The Rule of Thirds can help you compose a well-balanced photograph. Imagine that your image is divided into nine equal parts by two vertical and two horizontal lines. You want to position the most important elements of your image along these lines or at the points where these lines meet. This will create a wonderful balance to your scene and highlight the key features of your image.
LINES LEADING TO INTEREST
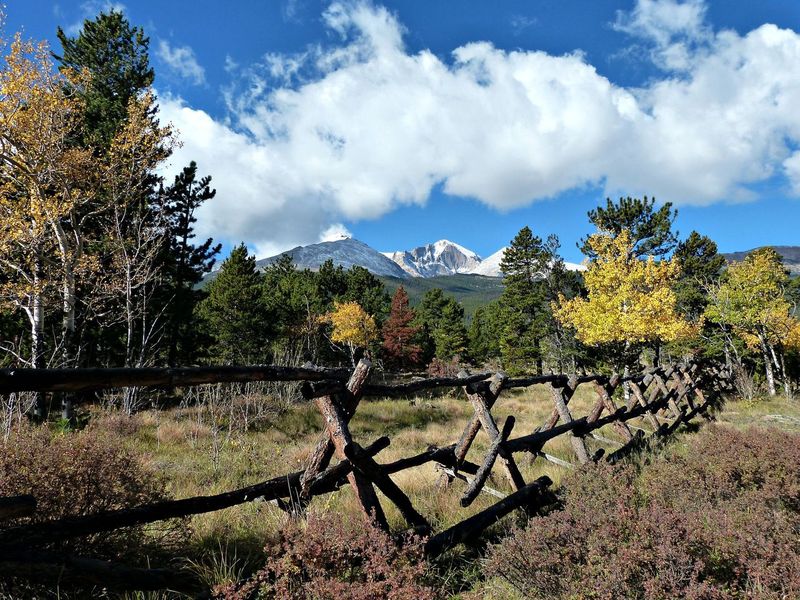
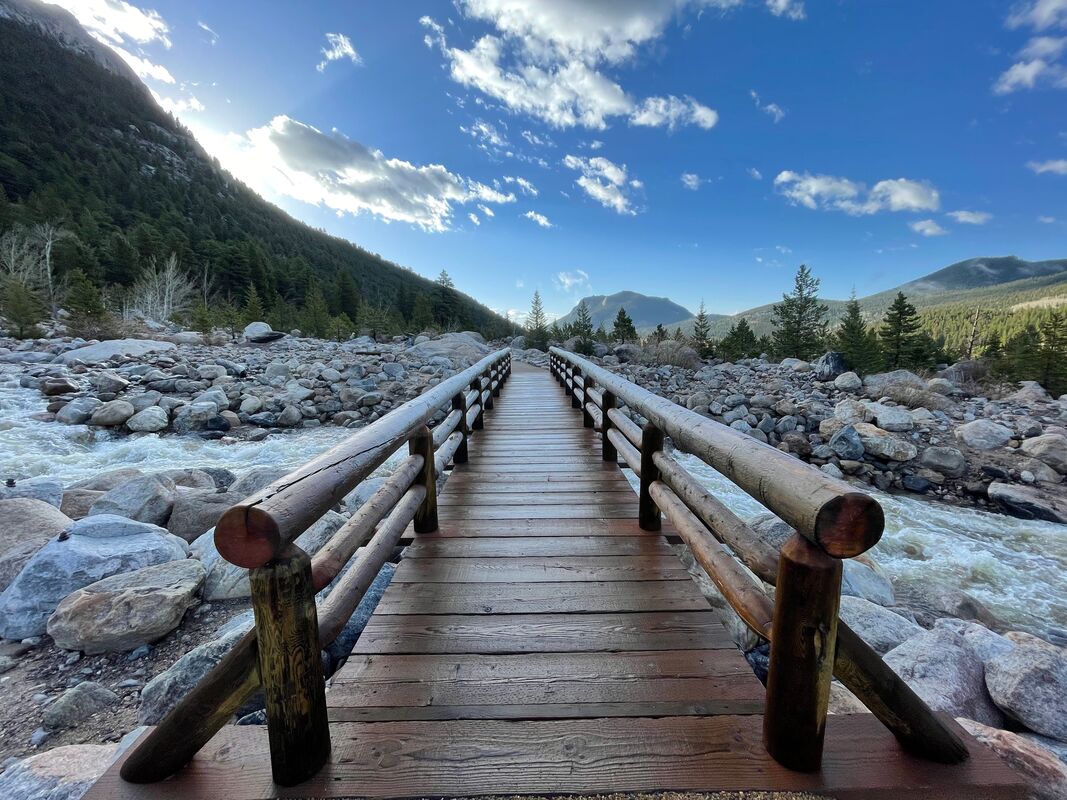
When we look at a photo, our eyes are naturally dawn along lines. It’s how we see. There are lines everywhere around us, whether they are fences or sidewalks or trails or trees. If you place these naturally created lines within your photograph to lead to a point of interest, it will pull the viewer into your image. Leading lines can take you toward a subject or even move you through a scene.
When we look at a photo, our eyes are naturally dawn along lines. It’s how we see. There are lines everywhere around us, whether they are fences or sidewalks or trails or trees. If you place these naturally created lines within your photograph to lead to a point of interest, it will pull the viewer into your image. Leading lines can take you toward a subject or even move you through a scene.
POINT OF VIEW
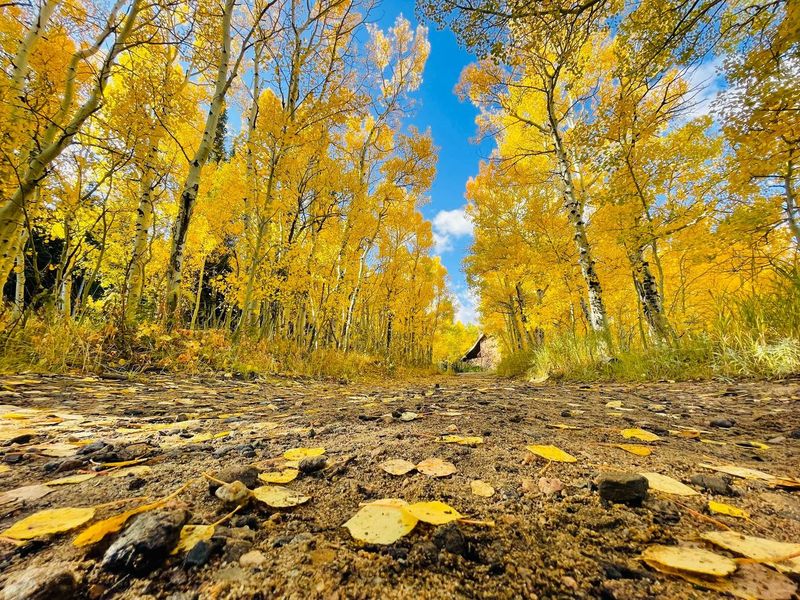
The point of view or perspective may be the most influential tool used to create a powerful image. Just like in life, how we see a situation will determine our success or failure. Often, if we simply change our perspective, we see a situation through a totally different lens and find treasures, even in difficult situations. In photography, the point of view has a significant impact on the composition of our photo. It truly determines the message we convey with each image. Rather than just standing there and pointing your camera in front of you and shooting at eye level, change your perspective. Consider laying on the ground, climb a high rock, move to the side, get close up or zoom way out. Play around with different angles. Make your photograph tell a story by showing the object from a different vantage point.
The point of view or perspective may be the most influential tool used to create a powerful image. Just like in life, how we see a situation will determine our success or failure. Often, if we simply change our perspective, we see a situation through a totally different lens and find treasures, even in difficult situations. In photography, the point of view has a significant impact on the composition of our photo. It truly determines the message we convey with each image. Rather than just standing there and pointing your camera in front of you and shooting at eye level, change your perspective. Consider laying on the ground, climb a high rock, move to the side, get close up or zoom way out. Play around with different angles. Make your photograph tell a story by showing the object from a different vantage point.
FRAMING
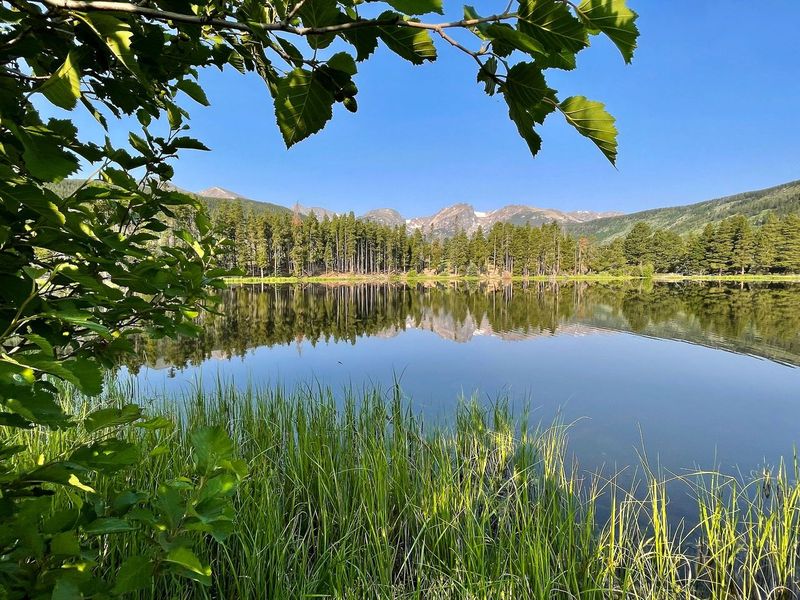
There are natural frames everywhere we look. Trees, archways, branches, holes in rocks all create natural frames by placing them around the edge of a composition to isolate the subject from the rest of the image. A more focused image will naturally draw your eye to the point of interest. The frame will highlight the main subject in a photograph. This tip works in tandem with point of view because oftentimes you will need to change your position to locate these natural frames.
There are natural frames everywhere we look. Trees, archways, branches, holes in rocks all create natural frames by placing them around the edge of a composition to isolate the subject from the rest of the image. A more focused image will naturally draw your eye to the point of interest. The frame will highlight the main subject in a photograph. This tip works in tandem with point of view because oftentimes you will need to change your position to locate these natural frames.
BACKGROUND
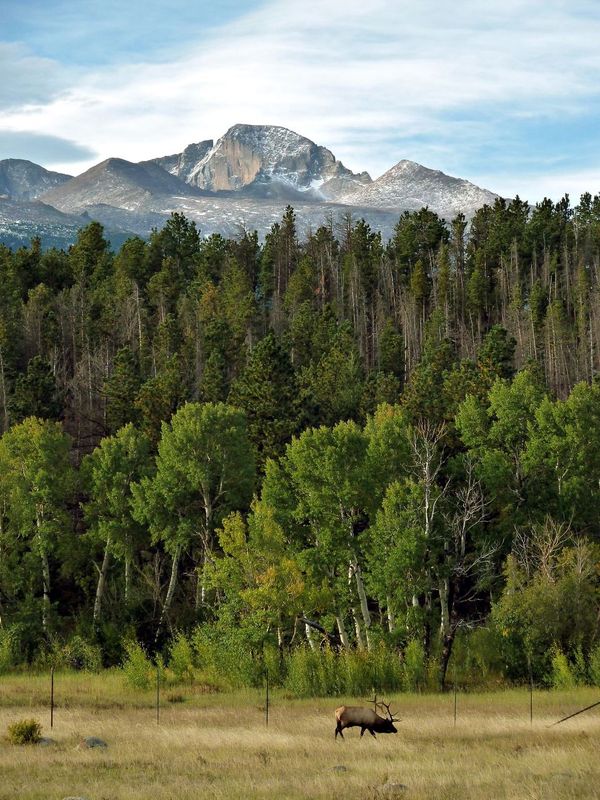
Our human eyes can seamlessly distinguish between different elements in a scene, but the camera struggles to do this. A camera has a tendency to flatten both the foreground and background, unless you are intentional about preventing this. Look for a background that is unobtrusive, especially if you have people in the picture. Be sure a branch isn’t sticking out from behind someone’s head. If you are photographing flowers, make sure there aren’t limbs or weeds distracting from the flower. Always be sure to consciously check your background before clicking the photo. Another trick is to blur the background by either changing the depth of field or using portrait mode on your camera. Blurring the background isolates the main subject and allows it to fully encapsulate the frame. When photographing wildlife, it is tempting to zoom in as close as you can and only frame the animal. But, oftentimes, if you look carefully at the background, you can use the animal to tell a bigger story.
Our human eyes can seamlessly distinguish between different elements in a scene, but the camera struggles to do this. A camera has a tendency to flatten both the foreground and background, unless you are intentional about preventing this. Look for a background that is unobtrusive, especially if you have people in the picture. Be sure a branch isn’t sticking out from behind someone’s head. If you are photographing flowers, make sure there aren’t limbs or weeds distracting from the flower. Always be sure to consciously check your background before clicking the photo. Another trick is to blur the background by either changing the depth of field or using portrait mode on your camera. Blurring the background isolates the main subject and allows it to fully encapsulate the frame. When photographing wildlife, it is tempting to zoom in as close as you can and only frame the animal. But, oftentimes, if you look carefully at the background, you can use the animal to tell a bigger story.
By utilizing these five techniques, you will be able to create photographs that capture the essence of Rocky Mountain National Park. We often forget that the word photography inherently puts you, the photographer, as the author and creator of an image. The Greek root words, “photo” meaning light and “graph” meaning to write, give us the very definition of the word, photography. Photography means “to write with light.”
The next time you lace up your hiking boots and sling your backpack over your shoulder, remember that an adventure awaits where you can write with light and make photographs that will last a lifetime.
The next time you lace up your hiking boots and sling your backpack over your shoulder, remember that an adventure awaits where you can write with light and make photographs that will last a lifetime.

